SPA with Vue.js and Laravel: Routing Basics

If you remember in the previous part, we created our very first page component. Well, to be more accurate, it's not really our very first page; it is the master page.
We all know, one of the most basic things in templates is the ability to create one master page that other pages can extend — very much like the master pages in Laravel blade.
Vue is not that different. You can create a master page and specify an outlet which child pages can be inserted into.
router-view
<router-view> is what we use to tell Vue where the router outlet should be. It's like using @yield in the Laravel world.
Let's apply this to our code and see how it looks like.
Open up App.vue and replace everything with the following:
<template>
  <div id="root">
    <header class="Header">
      <h1 class="Header__logo">
        SPA-FORUM <small>with vue.js</small>
      </h1>
    </header>
    <main>
      <!-- router outlet -->
      <router-view
        class="view"
        keep-alive
        transition
        transition-mode="out-in">
      </router-view>
    </main>
  </div>
</template>

<style lang="stylus">
  *
    box-sizing: border-box

  .view
    margin-top: 12px
    transition: opacity .2s ease
    padding-left: 15px
    padding-right: 15px
    &.v-enter, &.v-leave
      opacity: 0

  .Header
    display: flex
    justify-content: space-between
    width: 100%
    border-bottom: 1px #f0f0f0 solid
    padding-left: 20px

  .Header__logo
    font-family: "Lato"
    font-weight: 300
    color: #333
    cursor: pointer

    small
      font-size: 18px

  .Header__links
    display: flex
    list-style: none
    padding: 0
    margin: 0
    justify-content: center
    align-items: center

  .Header__link
    margin-right: 20px

    & > a
      color: deepskyblue
      text-decoration: none
      padding-bottom: 8px

      &:hover
        border-bottom: 1px solid deepskyblue
</style>
Most of this code is just for structuring and styling. The important thing to us here is the router-view component.
Before I proceed on explaining it, I'd like to make some notes on the styling.
Since CSS is not our focus in this series, I would not spend much time on it. And every time I introduce any new page, I'd put the whole CSS code for that component, and then forget about it (unless there's something worth mentioning).
I also want you to note that I'm using stylus as my preprocessor. This means you have first to install it via npm: npm install stylus --save — or, of course, feel free to use whatever you like.
Now back to our main point. As you can see from the code above, the <router-view> component has some options on it.
<router-view
  class="view"
  keep-alive
  transition
  transition-mode="out-in">
</router-view>
- class — this is like any normal CSS class, but it's good to give a global class name for all views that are going to be placed here.
- keep-alive — with this option, you'll increase the performance of your app by caching the switched-out components (pages) when you navigate between pages.
- transition & transition-mode — those are just for animation. The
transition-modetakesout-inwhich means when you switch between components, it'll first remove the old one and then put the new one.
Note that we haven't given the transition directive any value, which means the corresponding CSS classes would just be v-enter & v-leave. The kind of animation we're doing here is the fade transition. It's pretty easy to do, just give both classes an opacity with value of 0.
If you're new to transitions in Vue, I've written a whole article about it.
You should see something like this in your browser:

Child pages
Okay, so we now have the master page. Our next step is to see how to attach a child page to that outlet.
Our first page to add would be, well, the home page! So let's first create it.
Create a new component named HomeView.vue in the components/ directory. And put in the following.
<template>
  <div class="home-view">
    This is the homepage.
  </div>
</template>
Now the only remaining thing is to register that component to some endpoint on our router. This is like specifying which controller method to execute on a certain endpoint in Laravel.
Here's how to do it in Vue.
import Vue from 'vue';
import Router from 'vue-router';
import App from './components/App.vue';
import HomeView from './components/HomeView.vue';

Vue.use(Router);

var router = new Router();

router.map({
  '/': {
    name: 'home',
    component: HomeView
  }
});

router.start(App, 'app');
We've just added a new section for mapping URIs to components — a.k.a defining routes. So, we give router.map an object of our app's routes. In this case, we just added a route for the homepage.
There are multiple things you can specify for each route, but at least you have to specify which component to render. The name property here works as a name for the route — like named routes in Laravel.
This is what you should see in your browser:

It just happened for this series that we won't use nested routes. However, if you need to use them, just define them under a subRoutes object like this:
router.map({
  '/': {
    name: 'home',
    component: HomeView,
    subRoutes: {
      '/foo': {
        component: FooView
      },
      '/bar': {
        component: BarView
      }
    }
  }
});
Linking between components
In future parts, we'll need to create links to navigate between pages. Doing this in SPAs is different from traditional applications. In Vue, the way we create a new link is by using the v-link directive. For instance, you can create a link to the homepage with one of these options:
- Using the path —
<a v-link="{ path: '/' }">Home</a> - A shorthand version —
<a v-link="'/'">Home</a> - Or using named routes —
<a v-link="{ name: 'home' }">Home</a>
And since this is a directive you can use it on any element you want — not just <a>.
In this part, we just need to create a link for the homepage when the user clicks on the forum title.
To do that, go to App.vue and add v-link on the logo (h1 element).
<h1 v-link="'/'" class="Header__logo">
  SPA-FORUM <small>with vue.js</small>
</h1>
History routing mode
SPAs are well known for that #! we see in their URLs. For some people (including myself), don't like to see this. I just like my SPA to look like any other application.
Luckily, we can remove it very easily with Vue & Laravel.
To do that, we have to use what we call the history routing mode. With that mode, Vue can work with the browser's pushstate API, which eliminates the need of #! in the URL.
To enable that in Vue, all you have to do is to add this option in the router object (in main.js).
var router = new Router({
  history: true
});
Now if you go to localhost:8000, your browser's URL won't be changed to use #!.
That's awesome! But, we're left with some problem to deal with.
Now, try to go directly to localhost:8000/foo in your browser. You should see this exception thrown even if you've defined /foo in your Vue routes:

But why is that? It's because of deep linking. When you go to /foo directly (without using v-link), your server will take it as a normal request, which, in this case, Laravel will eventually throw NotFoundHttpException because this URL is not registered in its routes.
With Laravel, we can solve this problem in a second!
Just go to your Laravel routes file and replace this:
Route::get('/', function () {
    return view('index');
});
With this:
# Vue
Route::any('{all}', function () {
    return view('index');
})
->where(['all' => '.*']);
So instead of registering a route only for the homepage, we've setup a route to listen for any request with any verb, and response with our index.blade.php view, which will ultimately use our Vue script.
But, where to register our API?
It's all about ordering. Routes in Laravel are registered in the order you write them. This means if you keep that Route::any at the top of the file, all the routes under that won't work. And remember that in future parts we'll start implementing a backend API to serve our SPA.
So to keep everything working, we've got to always keep that Route::any at the bottom of the file.
Setting a 404 route
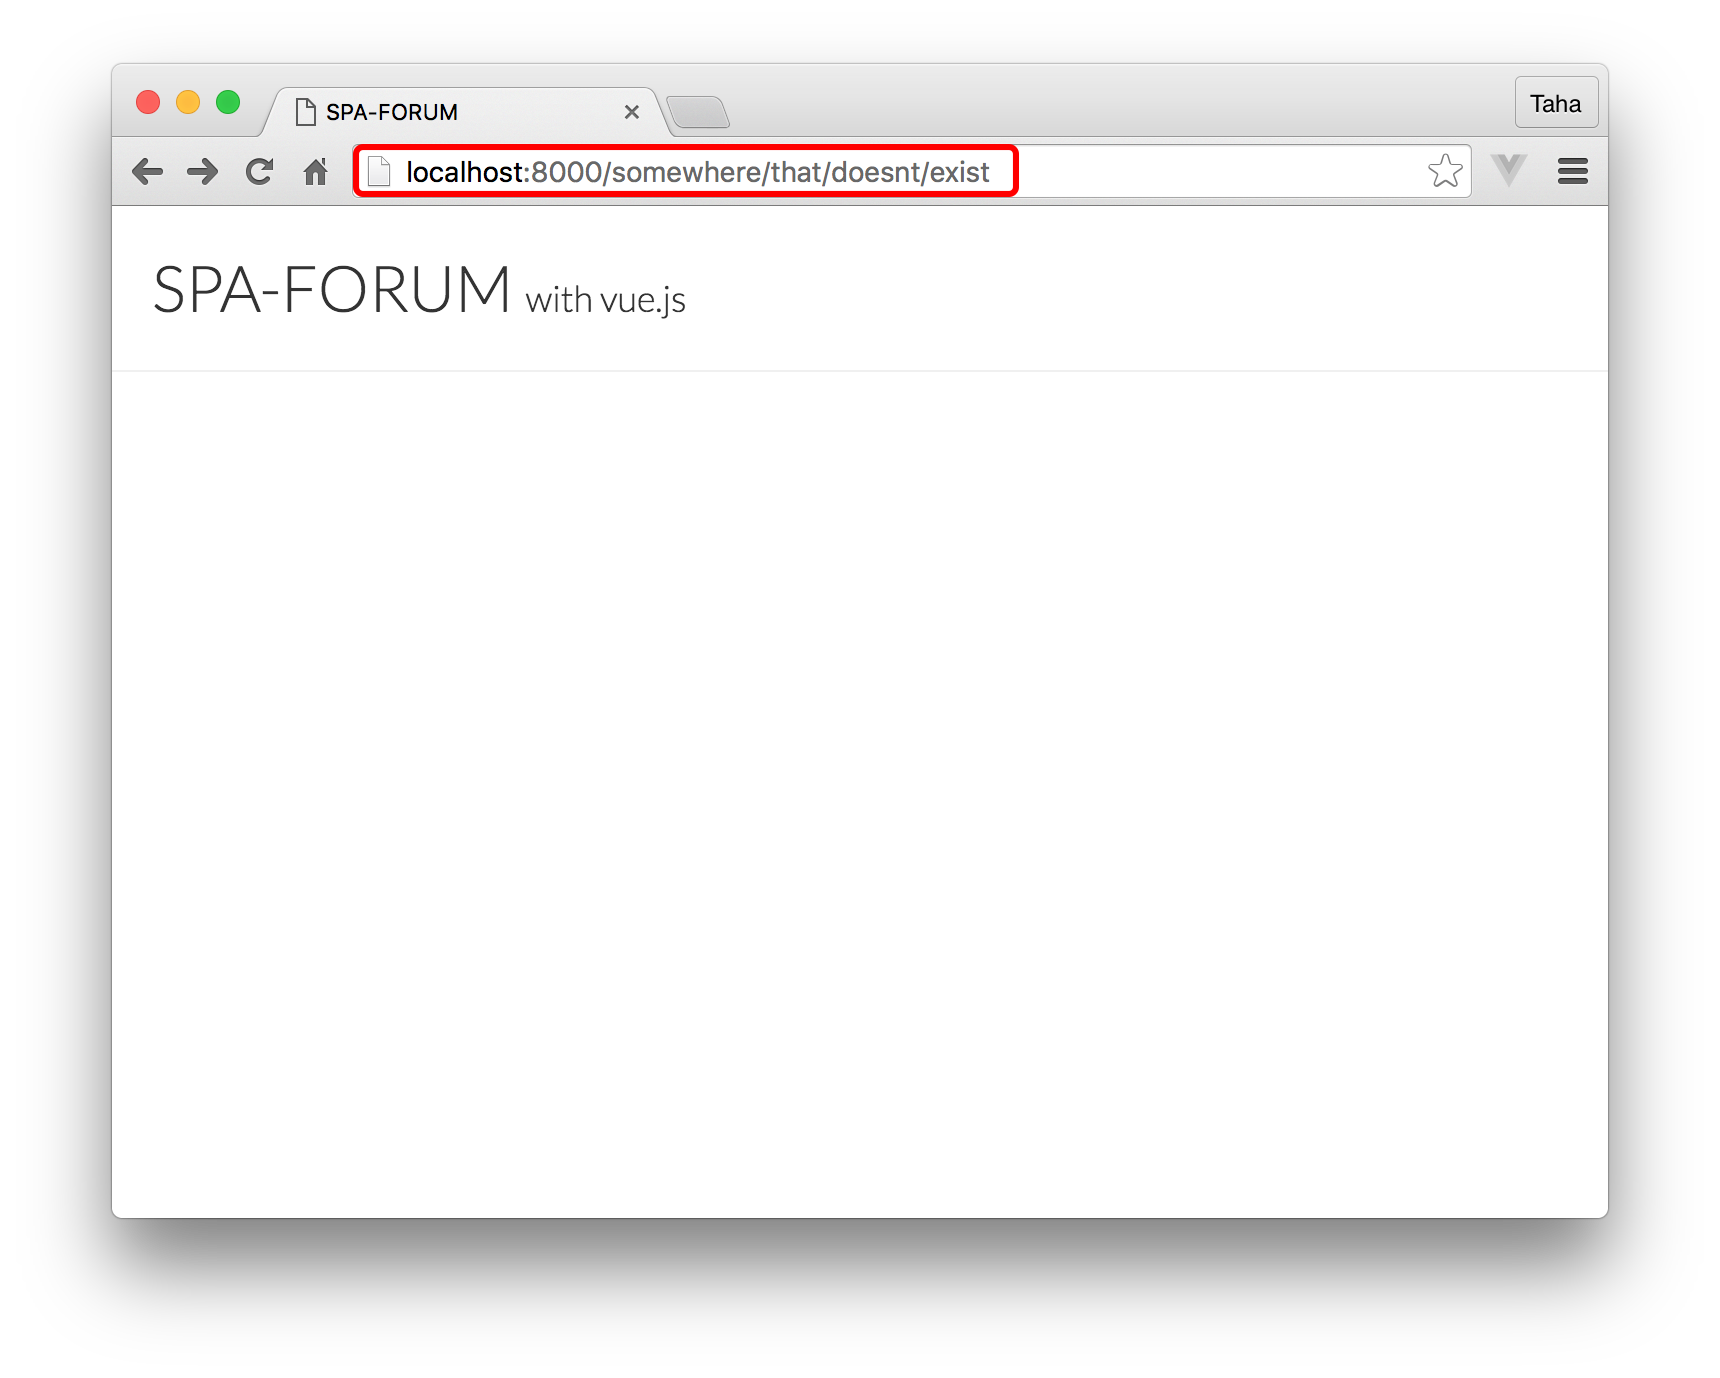
Lastly, we'll finish up this part by setting up a route for non-existing pages.
If you visit any path that doesn't exist, you'll end up in a blank page with that non-existing URL appearing in the browser's address bar. Like this:
Typically, the way we prevent this is by redirecting any non-existing route to any page we want. Here's how you do it in your main.js under router.map.
router.map({
  '/': {
    name: 'home',
    component: HomeView
  }
});

router.redirect({
  '*': '/'
});
In this example, we're redirecting to the homepage. In other cases you may need to create a custom 404 page and redirect to it instead.
That's it! What's next?
This part was probably a little bit long. But the great thing is that you now know how routing works in Vue.
In the next part, we'll start implementing our backend API for categories and their related topics.
About Taha Shashtari
I'm a freelance web developer. Laravel & VueJS are my main tools these days and I love building stuff using them. I write constantly on this blog to share my knowledge and thoughts on things related to web development... Let's be friends on twitter.