SPA with Vue.js and Laravel: Displaying Categories & Topics

Now we come to the second half of the problem — that's fetching and displaying the data we prepared in the previous part.
We've got many things to do; let's dive in.
Displaying categories
We have multiple things to do to display categories in the right way. First, we have to fetch the data from the server and store it in an array. Then, we are going to define two components, one for displaying the link of the category itself (we'll call it category item), and the other for the view of the category, which will contain all related topics.
Now, let's start by fetching all categories from the API we've defined in the previous part.
Although you can do that using any Ajax library, I prefer to stick to the Vue world and use the excellent library vue-resource. Also with vue-resource we get the advantage of using http interceptors — later on this.
Of course, we have first to install it via npm:
npm install vue-resource --save
After that, import it and use it in main.js:
import Resource from 'vue-resource';
//...
Vue.use(Resource);
Next, we need to define an array to contain all the categories we fetch. Since we're displaying the categories in the home page, go to HomeView and add this under the <template>:
<script>
export default {

  data () {
    return {
      categories: []
    }
  }
}
</script>
Now the important question remains; where to run our Ajax request to fetch those categories? Your first attempt may be in the ready() hook function. While that will work (only in this case), it's not the way we do it in SPAs.
We'll instead use what we call route transition. In this part, I'm just going to show you how to use it to accomplish the thing we're doing, and in the next part I'll explain how the whole thing works in detail.
For now, all I want you to know is that we perform our requests in a data() hook function inside a route object. Like this:
<script>
export default {

  data () {
    return {
      categories: []
    }
  },

  route: {
    data () {
      // here to fetch data
    }
  }
}
</script>
Before we fetch the data, here's a thing to understand.
The way we assign data from the route.data() function to our component's data property (e.g. categories) is by returning an object containing the name of the property you want to change as the key and the data to put as the value.
For instance, let's say I want to assign categories with the array ['hello', 'there']:
route: {
  data () {
    return {
      categories: ['hello', 'there']
    }
  }
}
If you check your Vue Devtools in the browser, you should see this:

But, of course, we don't want to fill it with ['hello', 'there'], we want to fill it with the data from our server.
Here's how you would fetch categories from the /api/categories endpoint:
route: {
  data () {
    return this.$http.get('/api/categories')
      .then(function (data) {
          return { categories: data.data }
      });
  }
}
Or using the beautiful ES6 syntax:
route: {
  data () {
    return this.$http.get('/api/categories')
      .then(({data}) => ({ categories: data }));
  }
}
Now if you check your Vue Devtools you should see something similar to this:

So the data is now available to our HomeView page; our next step is to display them to the user.
Here you have two options. Either to put everything directly in the HomeView component and end up with messy code, or to create a dedicated component to represent each category item. It should be obvious that the latter is much better and cleaner. So, let's go for it.
To do that, we have to iterate through the categories array, and for each one we need to instantiate a category component and feed each one with the data it needs to display via props.
Let's first create that component.
In the components directory, create Category.vue and put in the following:
<template>
  <div class="Category">
    <div class="Category__main">
      <a class="Category__name" v-link="{ name: 'category', params: { categoryId: category.id } }">
        {{ category.name }}
      </a>
      <div class="Category__meta">
        <span class="Category__description">{{ category.description }}</span>
      </div>
    </div>
    <div class="Category__stats">
      <span>
        <span class="Category__stat-number">
          {{ category.numberOfTopics }}
        </span>
        <small class="Category__stat-label">
          Posts
        </small>
      </span>
    </div>
  </div>
</template>

<script>
export default {

  props: ['category']
}
</script>

<style lang="stylus">
.Category
  margin-bottom: 5px
  padding: 20px
  border: 1px solid #ddd
  border-radius: 1px
  display: flex
  justify-content: space-between
  align-items: center

  &:hover
    &:before
      background: deepskyblue

  &:before
    content: ' '
    width: 5px
    height: 40px
    background: gainsboro
    margin-right: 10px


.Category__meta
  margin-top: 5px
  font-size: 14px
  font-weight: lighter
  color: #999

.Category__description:before
  display: none

.Category__main
  flex: 1
  padding-right: 20px

.Category__stats
  display: flex
  flex-direction: column
  justify-content: center
  align-items: center

.Category__name
  font-family: "Roboto", sans-serif
  font-weight: normal
  font-size: 18px
  text-decoration: none
  color: #333

  &:hover
    text-decoration: underline

</style>
You don't have to pay too much attention to the code above as most of it is just for styling and structuring purposes. Just a couple of things are important to us here, though.
First, is the way we're accepting the category data via the props. And the second is v-link, which we're using to link to the category view to show all related topics — note that we haven't created that view yet.
Now, let's get back to our HomeView to use this component.
To be able to use it, we first have to import it and register it in our component's list of components.
<script>
import Category from './Category.vue';

export default {

  components: { Category },

//...
Finally, display those category items in the template like this:
<template>
  <div class="home-view">
    <div class="categories">
      <category
        v-for="category in categories"
        :category="category"
        track-by="id">
      </category>
    </div>
  </div>
</template>
But it won't work yet, because we have referenced a route named category in the v-link (in Category.vue) which we don't have yet. So, to get it to work, go to your main.js and add a new route with the name category.
'/category/:categoryId': {
  name: 'category',
}
Note how we didn't specify the component yet, and that's fine for now — we just need to test things.
Now in your browser, all categories should appear like this.
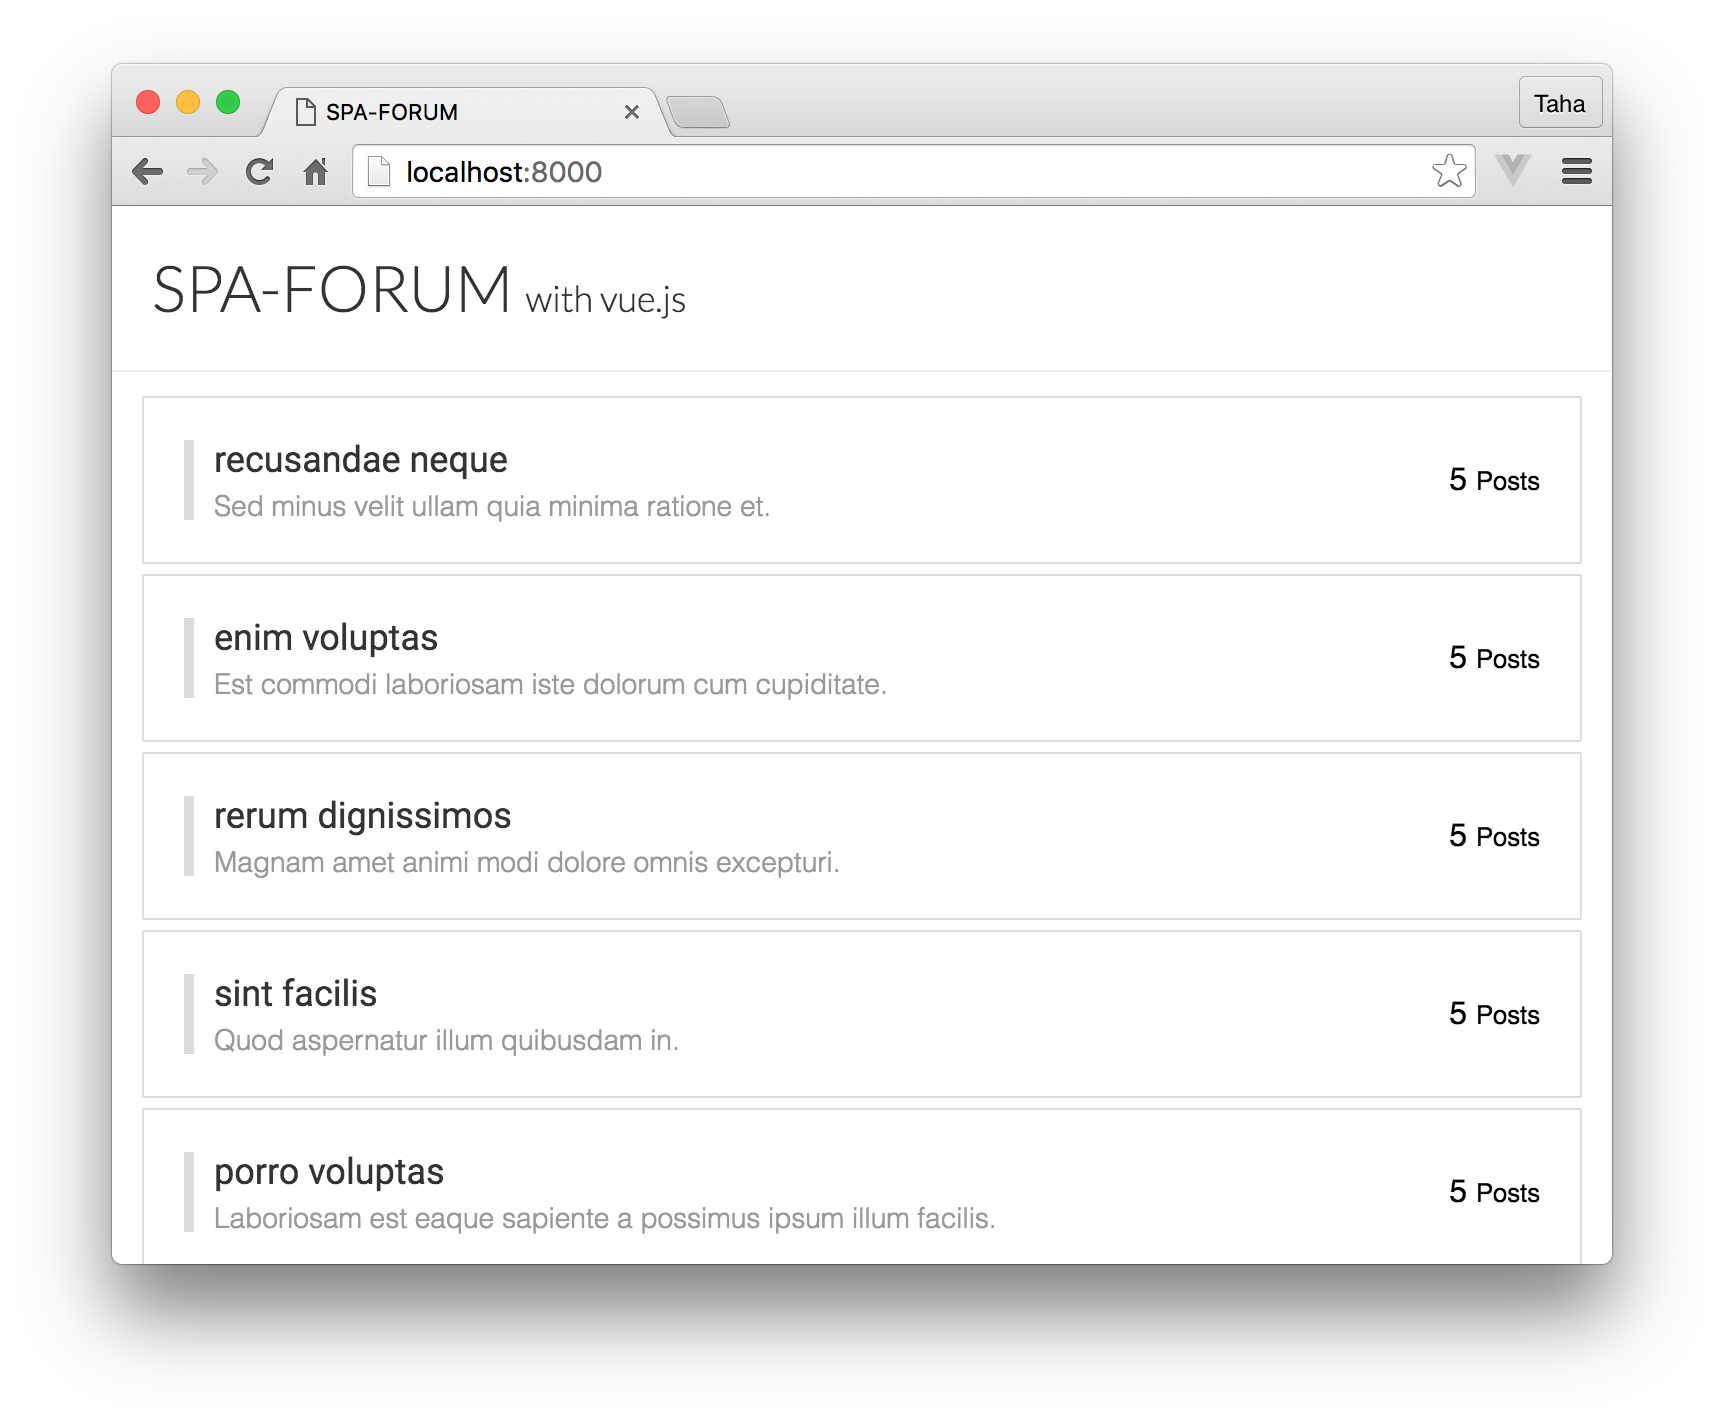
Awesome! Now let's move on to the topics.
Displaying topics
We'll move faster in this section as we already covered most concepts in the previous one.
First, create a new component called CategoryView, which will contain all related topics. Then import it and register it in our routes list in main.js:
import CategoryView from './components/CategoryView.vue';
//…

router.map({
  '/': {
    name: 'home',
    component: HomeView
  },
  '/category/:categoryId': {
    name: 'category',
    component: CategoryView
  }
});
Here's the code to put in that view (I'll explain it bellow):
<template>
  <div class="category-view">
    <topic
      v-for="topic in topics"
      :topic="topic"
      track-by="id">
    </topic>
  </div>
</template>

<script>
import Topic from './Topic.vue';

export default {

  components: { Topic },

  data () {
    return {
      topics: [],
    }
  },

  route: {
    data (transition) {
      const categoryId = transition.to.params.categoryId;

      return this.$http.get(`/api/categories/${categoryId}/topics`)
        .then((data) => ({ topics: data.data }));
    }
  }
}
</script>

<style lang="stylus">
.Button
  border: none
  background: deepskyblue
  color: white
  font-wight: light
  font-family: 'Roboto'
  padding: 10px
  border-radius: 1px
  margin-bottom: 20px
  margin-top: 5px
  &:hover
    background: darken(deepskyblue, 10%)

.Pagination
  display: flex;
  justify-content: center;
  margin-top: 20px;
  margin-bottom: 20px;

.Page-link
  text-decoration: none
  color: deepskyblue
  padding: 11px
  display: flex
  justify-content: center
  align-items: center
  width: 80px
  height: 30px


  &:hover
    background: deepskyblue
    color: white
    border-radius: 1px
    border: none

.Page-link--prev:before
  content: '◀'
  font-size: 14px
  padding: 1px
  position: relative
  top: 1px
  left: -4px

.Page-link+.Page-link
  border-left: 1px solid deepskyblue

.Page-link:hover+.Page-link
  border: white

.Page-link--next:after
  content: '▶'
  padding: 1px
  font-size: 14px
  position: relative
  top: 1px
  left: 4px

</style>
Let's break this down.
<template>
  <div class="category-view">
    <topic
      v-for="topic in topics"
      :topic="topic"
      track-by="id">
    </topic>
  </div>
</template>
This template is pretty similar to the one in the HomeView for the categories. But this time, we're displaying the topics instead. Also, note here that we'll need to create another component for the topic item — we'll do that in a little bit.
<script>
import Topic from './Topic.vue';

export default {

  components: { Topic },

  data () {
    return {
      topics: [],
    }
  },

  route: {
    data (transition) {
      const categoryId = transition.to.params.categoryId;

      return this.$http.get(`/api/categories/${categoryId}/topics`)
        .then((data) => ({ topics: data.data }));
    }
  }
}
</script>
After we have registered the component (which we don't have yet) and defined the topics array, we defined the data() transition hook to fetch the related topics.
The new thing to us here is the transition parameter. We won't talk about it now — since we'll cover it later — but note that we're pulling the categoryId that we passed from our v-link in the Category component (remember?):
<a class="Category__name" v-link="{ name: 'category', params: { categoryId: category.id } }">
Then we used that id in our Ajax request to get all related topics and assign them to the topics array in the component.
Now let's create that topic item component.
Create Topic.vue in the components directory and put in the following:
<template>
  <div class="Topic">
    <div class="Topic__main">
      <a class="Topic__title">
        {{ topic.title }}
      </a>
      <div class="Topic__meta">
        <span class="Topic__author">by Foo</span>
        <span class="Topic__time">{{ topic.time }}</span>
      </div>
    </div>
    <div class="Topic__stats">
      <span class="Topic__views">
        <span class="Topic__stat-number">
          {{ topic.views }}
        </span>
        <small class="Topic__stat-label">
          Views
        </small>
      </span>
      <span class="Topic__comments">
        <span class="Topic__stat-number">
          6
        </span>
        <small class="Topic__stat-label">
          Replies
        </small>
      </span>
    </div>
  </div>
</template>

<script>
export default {

  props: ['topic']
}
</script>

<style lang="stylus">
.Topic
  margin-bottom: 5px
  padding: 20px
  border: 1px solid #ddd
  border-radius: 1px
  display: flex
  justify-content: space-between
  align-items: center

.Topic__meta
  margin-top: 5px
  font-size: 14px
  font-weight: lighter
  color: #999

.Topic__main
  flex: 1
  padding-right: 20px

.Topic__time:before
  content: '•'
  margin-right: 5px

.Topic__stats
  display: flex
  flex-direction: column
  justify-content: center
  align-items: center

.Topic__title
  font-family: "Roboto", sans-serif
  font-weight: normal
  font-size: 18px
  text-decoration: none
  color: #333

  &:hover
    text-decoration: underline

</style>
Nothing new here — very similar to the category item.
Now check your work in the browser.

Did you notice how time is presented? This should be no surprise since we're just displaying it in the Unix timestamp format. Let's convert it to something readable using custom filters.
Custom filters
Since Vue doesn't provide a filter for converting Unix timestamps to from-now form, we have to do it ourselves by creating a custom filter.
Actually, we'll create two custom filters, one for the timestamp and the other for formatting large numbers for the number of views.
fromNow filter
To make our task easier we'll use a library called momentjs. So install it with npm:
npm install moment --save
We'll store our custom filters in a new file called index.js in the filters directory. So create it, and put in the following:
import moment from 'moment';

export function fromNow (time) {
  return moment(time, 'X').fromNow();
}
So this filter takes the timestamp and pass it to the moment function to return the time in this example form: a month ago.
Next, we have to import it and register it globally in the Vue filters list. So, add this in main.js:
import {fromNow} from './filters/index';
//…

Vue.filter('fromNow', fromNow);
Finally, we have to use that filter in Topic.vue:
<span class="Topic__time">{{ topic.time | fromNow }}</span>
Now your topic's time should be something users can read.
largeNumber filter
This filter is optional, but I think it makes the number of views for topics looks neater. It'll take a number and check if it needs to be formatted by appending 'k' or 'M' to the end.
In filters/index.js add this filter:
export function largeNumber (number) {
    if (number > 999999) {
        return (number / 1000000).toFixed(1) + 'M';
    }

    if (number > 999) {
        return (number / 1000).toFixed(1) + 'k';
    }

    return number;
}
Then, update your main.js to import it along with the other filter:
import {fromNow, largeNumber} from './filters/index';

//…

Vue.filter('fromNow', fromNow);
Vue.filter('largeNumber', largeNumber);
Update your topic item (Topic.vue) to use that filter on the number of views:
<span class="Topic__stat-number">
  {{ topic.views | largeNumber }}
</span>
That's it! Now your topic items look better.

The next part
In this part we used route transition when fetching the data, but it's not only used for that. Since this is an important concept to understand, our next part will be fully dedicated to that.
About Taha Shashtari
I'm a freelance web developer. Laravel & VueJS are my main tools these days and I love building stuff using them. I write constantly on this blog to share my knowledge and thoughts on things related to web development... Let's be friends on twitter.